Written by Cassandra Harada
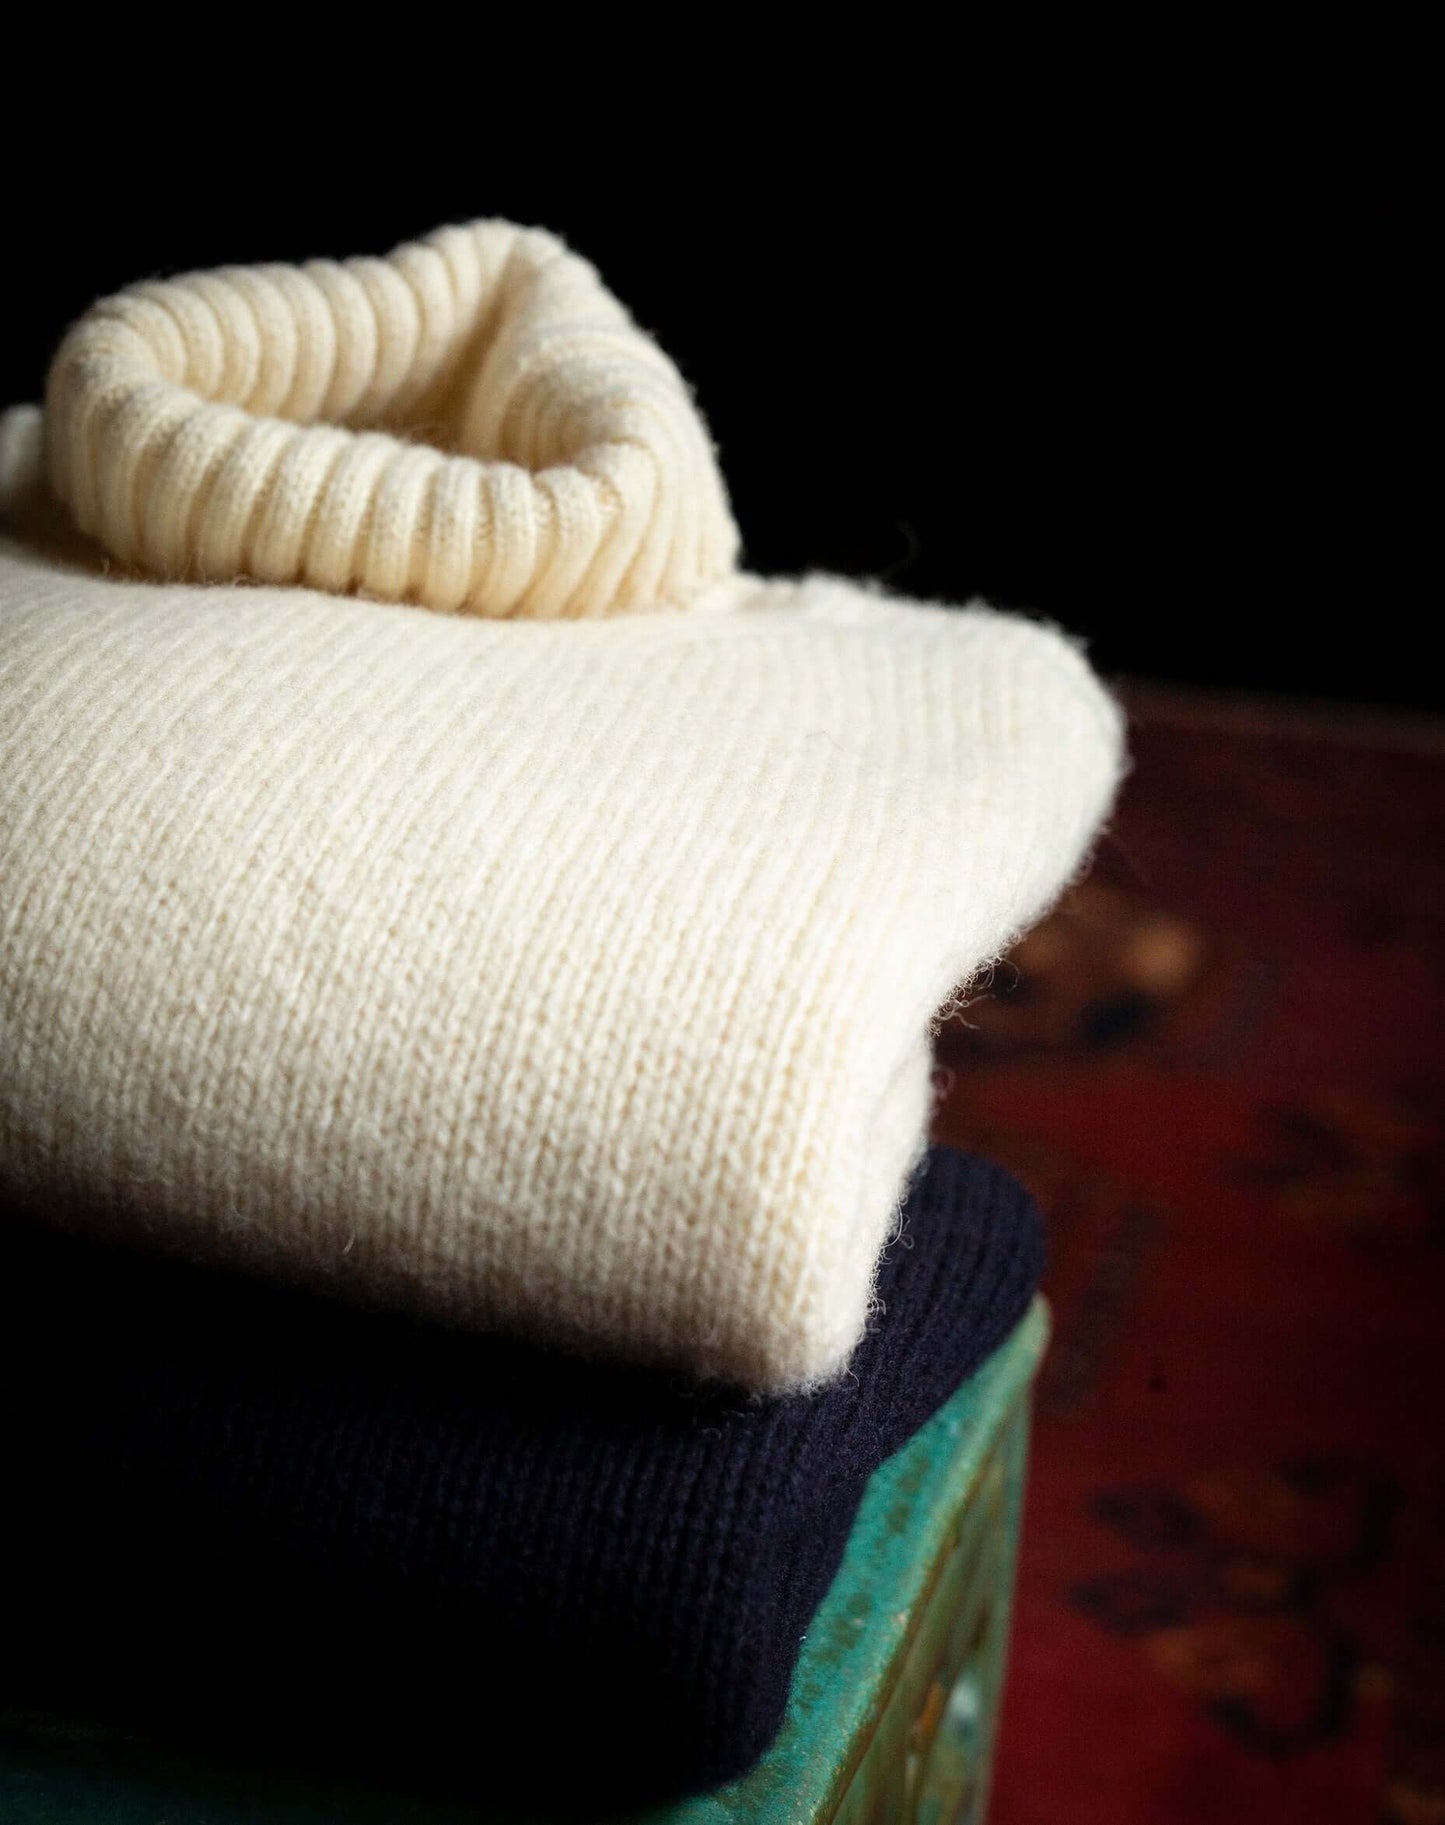
Before we begin the yearly shuffle of our spring wardrobe out of hiding, let us all take a moment to have a sit down with our beautiful woolens. While you’re cuddling with your sweaters, and feeling grateful for how they kept you cozy through this difficult winter, I’d like to talk to you about mending of the knitwear. If you live in Asia, perhaps your sweater met a carpet beetle, and offered it refuge and a tasty snack. If you’re in the west, your favorite scarf might have fallen prey to a moth or two. You could have even just snagged a sleeve on a fencepost, or a stranger’s hand bag. There are a million ways our clothing can receive damage, and while the temptation to fling the injured knitwear into the rubbish heap and buy something new is high, I hope after reading this little tutorial, you’ll realize that by mending your clothing, you can add a bit of character and personal style to your wardrobe that money cannot buy. Today, let's “darn” one of my favorite jumpers that has a bit of damage on the sleeve.
Step 1:
Find the damaged area of your clothing and lightly stretch it over a bowl, a small cushion, or any object that allows the damage to lay flat. There are lots of darning implements on the market but there is absolutely no need to invest in such tools, as household items will work just fine.

Step 2:
Thread a length of yarn through the eye of a darning needle and insert your needle about one centimeter from all edges of the damage.
What we’re doing here is creating a “warp”, or lengths of yarn used for weaving. Pick up a tiny bit of the sweater at the end of each warp length.

Go back and forth until you cover the entire damaged area of the knitwear, and about one centimeter of undamaged area above the hole.

Step 3:
Now we’re going to go in the opposite direction and weave. It’s important to understand that even if your weaving isn’t perfect, it will still result in a beautiful patch on your clothing that you can be proud of! Start the process by going over and under your warp yarns. We’ll call this “weft” yarn.

When you reach the bottom of the first row, grab a little of the sweater and draw through. Begin your second row doing exactly the opposite of what you have just done. For example, if you went over the last warp yarn, you’ll weave under.

Keep going, you’re weaving like a pro! Again, even if it’s not perfect, hand work is beautiful. You’re honoring your wardrobe, and the craftspeople who made the original knitwear by keeping their story alive, and adding your own breath of life to the garment.

If you’re feeling the patch looks a little loose, with your next weft yarn, place tension on the warp yarns and use the needle as a kind of “heddle” to compact the weaving you’ve already done on the sweater by pushing the needle while in the threads, toward the already woven patch.

Step 4:
When you’ve woven the entire area, weave through a few more times randomly to secure the yarn. (As you can see here, I’ve gone diagonally through the square patch and come out in the middle) Weave the opposite end in as well, and trim off the excess. If your sweater is made of wool, feel free to hit it with a hot iron. These fibers will eventually felt to the original fabric, so you can walk around sporting your patch safe in the knowledge that it will stay snugly in place.

Now, stand back and proudly admire your work!
While this does take a few moments, Darning and mending our woolens and knitwear is something our clothing deserves. Wardrobe pieces made of natural fibers often receive damage, but it’s easy, fun and interesting to patch and preserve the items we love.
